I Made a Bra(lette)!
One of the longest-running goals I’ve had for myself since really getting into sewing and sewing blogging has been to try making lingerie for myself. As a plus size woman, fun, pretty, and sexy lingerie can be difficult to come by. While I absolutely adore Torrid when it comes to lingerie (honestly the only brand that fits me well that I’ve tried and the quality incredible and the designs are fun and sexy), there are only so many new designs that come out a year.
Another of the most frustrating things I run into with lingerie is finding cute and comfortable bralettes. Again, while Torrid definitely is my favorite in that arena, I often find myself falling in love with designs that I find out too late are racerback. Sadly, my neck can only take so much!
About a year ago, I decided to bite the bullet and purchase my first bralette pattern from House Morrighan called the Poppy Bralette. It’s a simple style that fits sizes 14-24AU with cups ranging from C to I. The pattern itself took maybe 20 minutes to put together and I set off to cut out a D cup (which I was at the time). Sadly, I abandoned the project to work on others over the course of the year but I still made sure to keep all of those pieces together for the day when it called me!

That day came to me the other week when I decided to pull the pieces out of retirement and stitch the first draft together in order to check the fit. However, once I put it on, I realized that the cup was a bit shorter than I needed for the proper fit (2” too short to be exact). Once I had made the adjustments to the cups (and the back so that it matched the length of the front), I made sure to pull out a plain jersey knit and a black power mesh both from Joann Fabrics in order to cut out the newly adjusted pieces for the final draft.
Overall, the process went very smoothly! I had to divide out my time over the week, sitting down to sew one or two seams at a time. The more difficult steps of making this bralette were: 1. Making sure that the center seam lined up evenly (I had quite a few redos due to slipping fabric); and 2. Attaching the elastic around the back portion of the bralette (I ended up struggling attaching it around the upper point of the cup that encloses the rings and I had to stretch the elastic itself so it pulled my princess lines a bit further to the sides than I wanted).
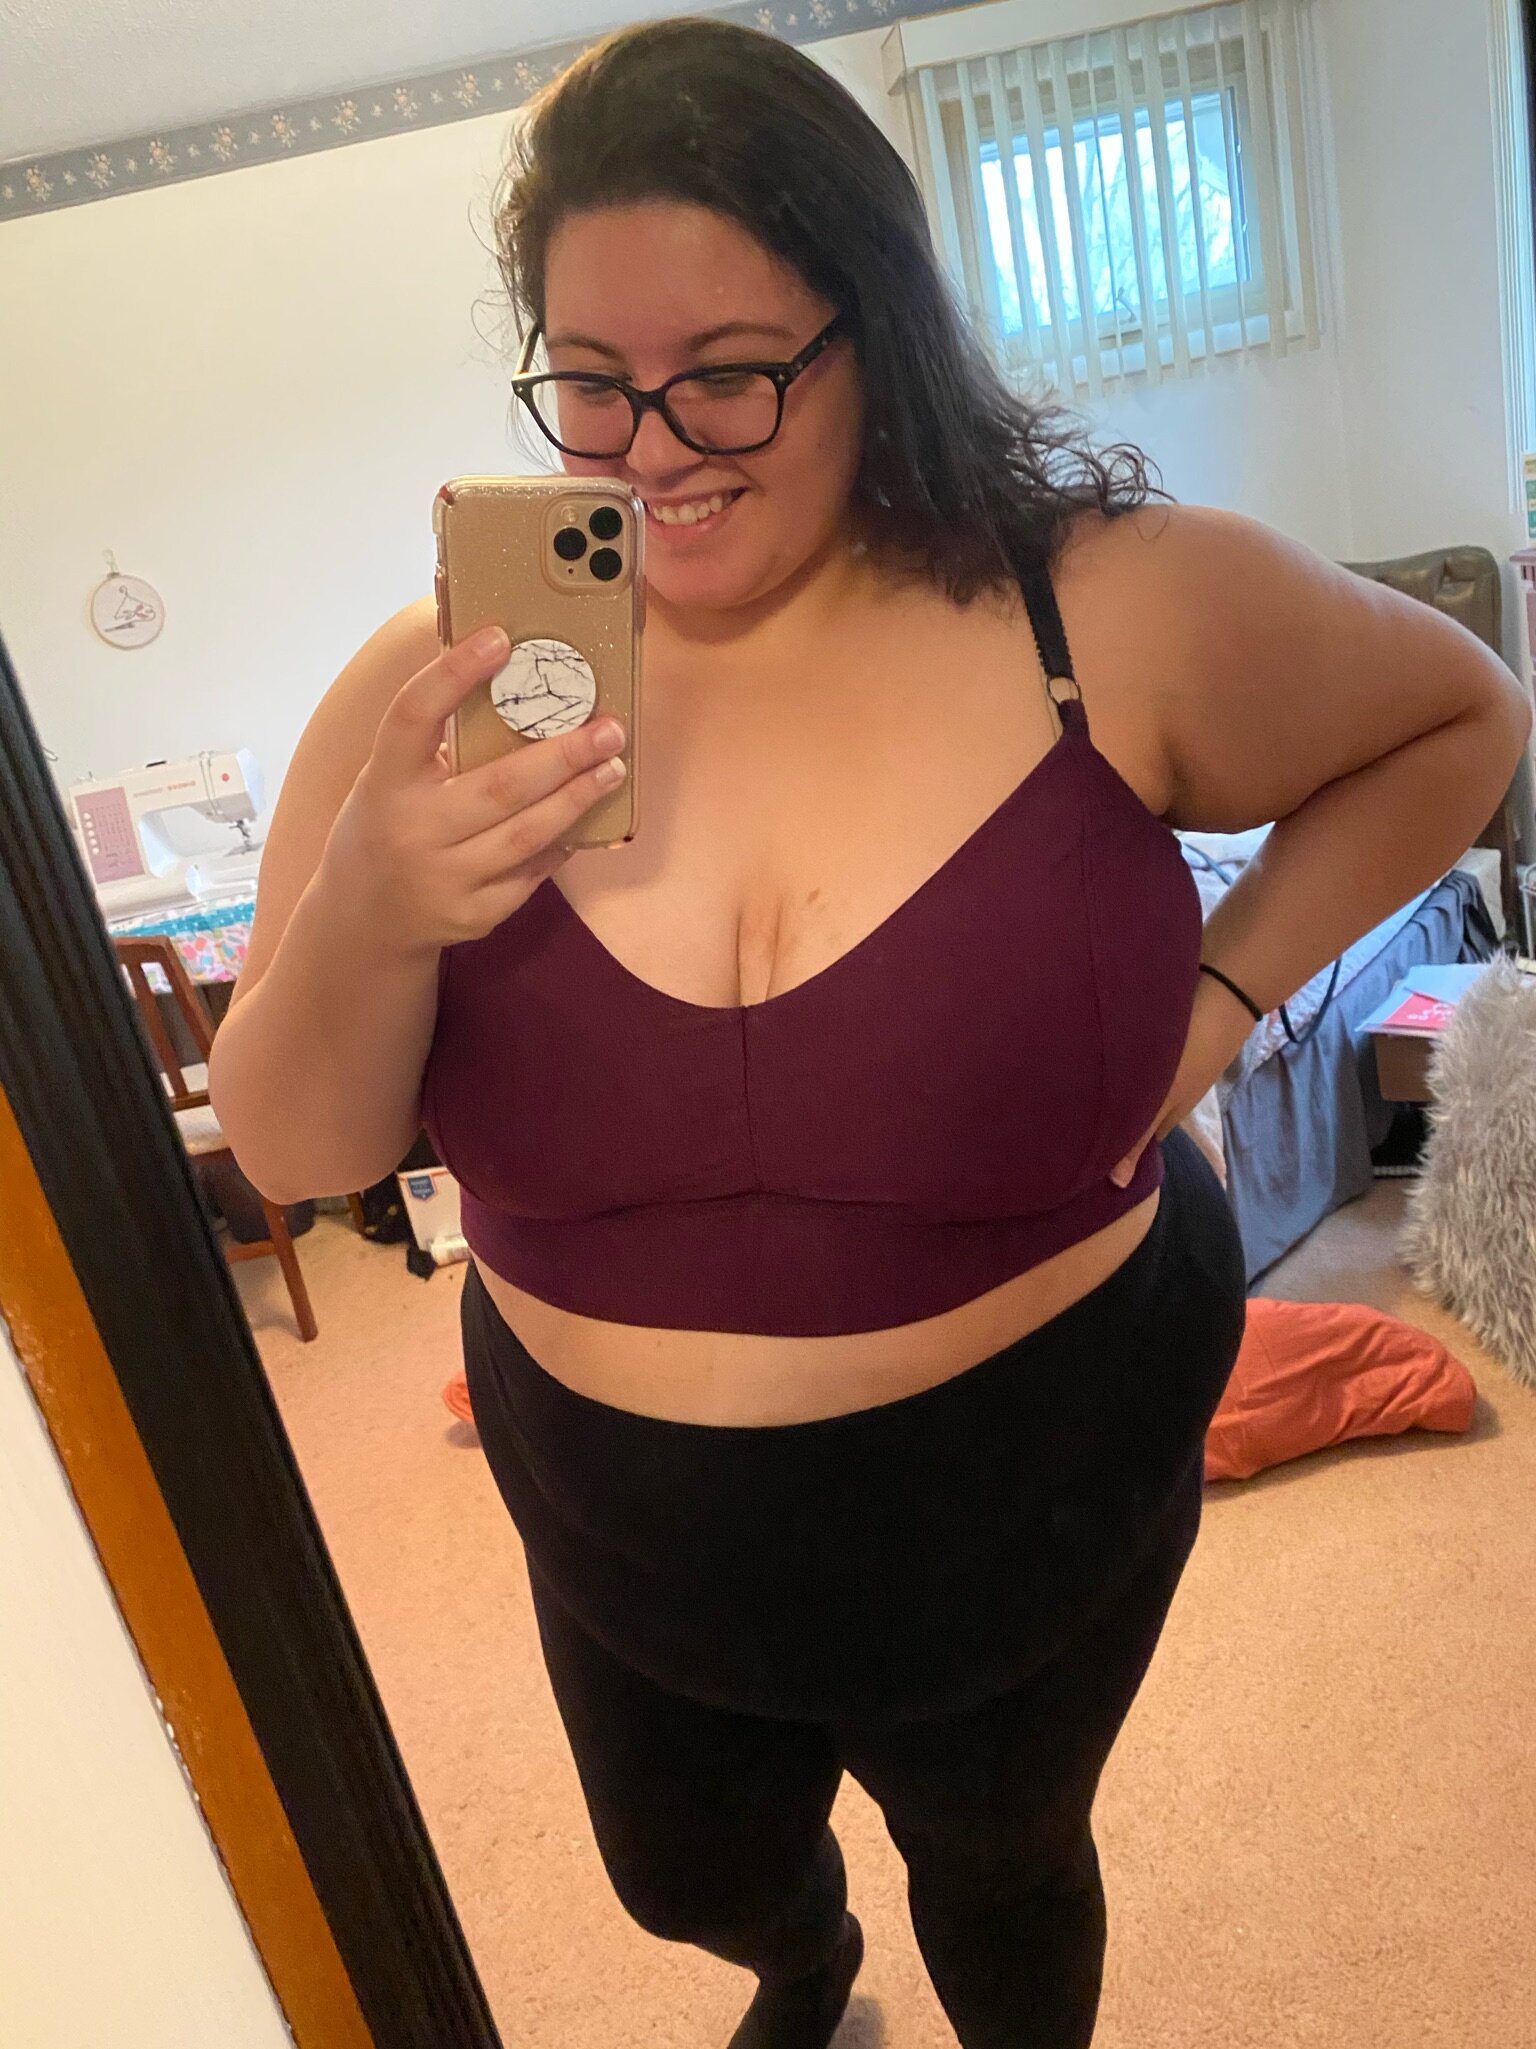
HOWEVER, the second that I finally finished my bralette after a week of on-and-off sewing I was happier than ever. I immediately threw it on and sent a photo off to a handful of my friends to show it off. I seriously couldn’t be happier with how it turned out (I was so excited that I had to make my first pair of matching underwear too!) that I immediately set off to buy a decent amount of additional supplies for upcoming lingerie projects so make sure you stay tuned on the lineup for those!
I say this to anyone interested in trying to make your own lingerie: Do It!