
Be Mine?
I am SOO excited to share this with you guys!

I never once thought that I would make a purse, like a legitimate fabric purse. EVER.

As some of you know, I work retail and teach at a local sewing shop. My coworkers and I all have our own specialties - quilting, wool, kids, embroidery, garments, and purses. I’m obviously the garment girl among us but I recently started regularly working with our purse queen and became fascinated with some of the styles she’s been making and bringing in.
A couple of my coworkers and I had been talking about the new fabric we had received one day and how we should make samples to show off the fabric so we all got to brainstorming some ideas. I let it go for a few days and while I was sitting on my couch when all of a sudden it hit me:
A SWEETHEART PURSE!
I immediately got to work sketching and patterning what would become my purse patterns. I found this adorable multicolored heart fabric on the shelf at work and, after seeing it was the exact length I needed, I started cutting.

I cut a 22”x18” rectangle out first, hooped it, and set up “Be Mine” with the spacing I wanted on one of the embroidery machines we have.

Once it was finished, I laid my heart pattern over top of the embroidered fabric to center the words and cut it out before placing and cutting out 3 more of the same fabric hearts. Once those were set, I cut:
2 hearts of a foam meant to be used as an insert
4 fabric rectangles and 2 foam rectangles to create the sides of the heart
4 rectangles of interfaced fabric to create the zipper channel
2 hourglass-shaped interfaced fabrics to create the fabric loops connecting the rings and fabric
2 rectangles of fabric and 1 of foam to create the fabric strap
And 2 smaller interfaced rectangles used to create the loops connecting the strap chain and the fabric strap together
with my Olfa rotary cutters.

Once all of the pieces were cut out, I basted the fabric hearts to the foam pieces and the side rectangle pieces to their foam pieces to hold them in place as I continued.

I first took the zipper and secured it in between the four rectangles that would become its channel, chalk lining the lines I would stitch on to attach the zipper to the inner heart fabric. I realized I had forgotten to stitch the zipper in. I ripped out the top third of the heart to where my zipper was going so I could sew that in.
Once that was all set, I used the serger to sew the sides together at what would be the bottom point before pinning it to each heart and serging each side to the hearts.

Since the zipper channel was still open, I grabbed my rings and the hourglass-shaped pieces to double the thickness of the loop before enclosing the rings, sandwiching and securing them between the zipper channel and side of the purse. The rings were moving around so much that I also stitched the loop right along the ring to keep it more securely in place.

Next was time to close up the tops of the hearts. I trimmed down the foam between the fabric layers about ¼” before handstitching the tops shut.


Attaching the chain was super easy - I simply took pliers and squeezed the loops to attach the chain to the rings.
Onto the strap: I took the strap rectangles, sewed them together (right sides together), inserted the foam, and stitched about ¼” in from the edges to secure the fabric to the foam. I sewed the smaller, interfaced loop rectangles to make inside out tubes, turned them right side out, and sewed them around the chain. I then inserted the loops into the strap edge, fashioned the strap edge into more of a trapezoid shape, and topstitched to keep everything together.

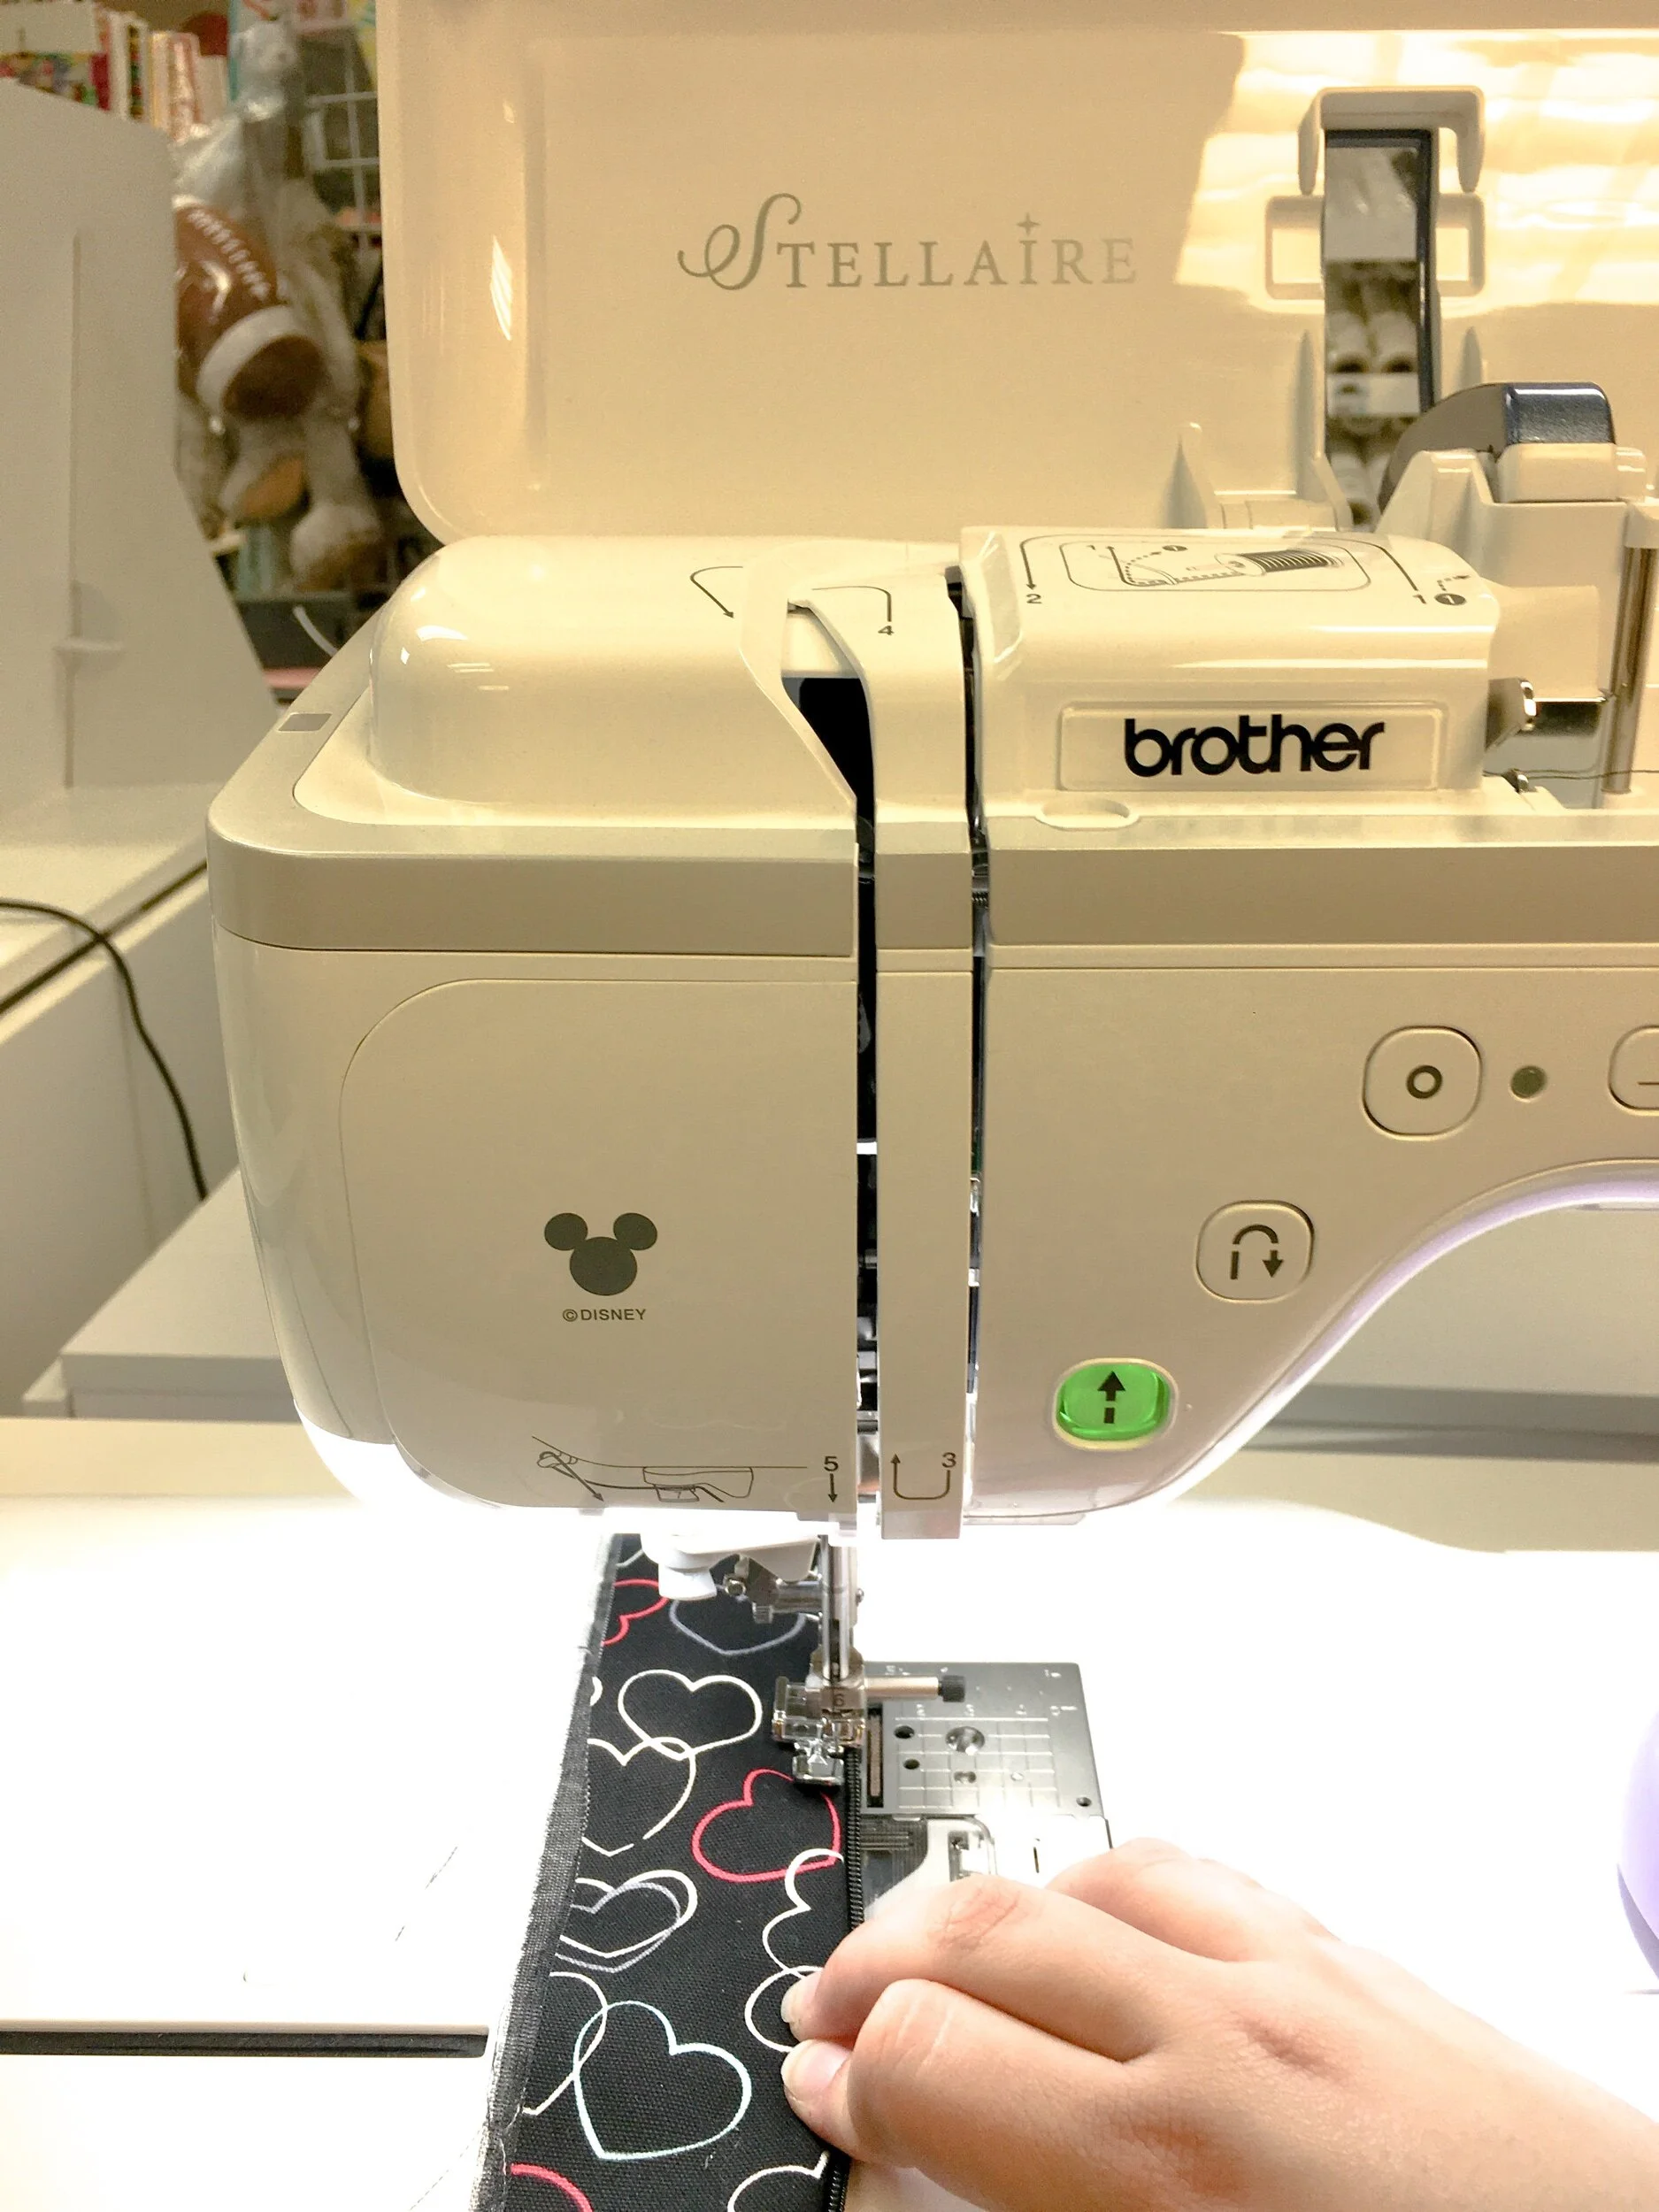
I learned SO much from this project and truly fell in love with both the process and the outcome. I now cannot wait to be able to purchase my next sewing machine because now I want one that can embroider sooooo badly and after playing on a couple of different machines, I definitely fell in love with Brother’s new Stellaire and spent most of my time on it!
I already have order requests for these but since it took a decent amount of material costs, those will be smaller than this one. So I guess it’s time to get some price quotes together and time to start saving for a Stellaire!
Happy Valentine’s Day!!
*This blog post is not sponsored. All opinions are my own.


