Minerva Exclusive Fabric: The Chalk and Notch Fringe
*This blog post uses affiliate links.
Welcome back!
It’s been a little while since I last wrote up a Minerva post to here’s my most recent make with them! This is one of a long line of exclusive prints that have just (and will continue) coming out for Minerva!
I was excited to see that the fabrics up for grabs was going to be one of my favorite fabrics (viscose challis) and I was even more excited to see that they’re OEKO-TEX certified! For anyone that doesn’t know, that simply means that the fabrics have been tested and cleared of harmful chemicals, making them healthier than a number of other fabric options!
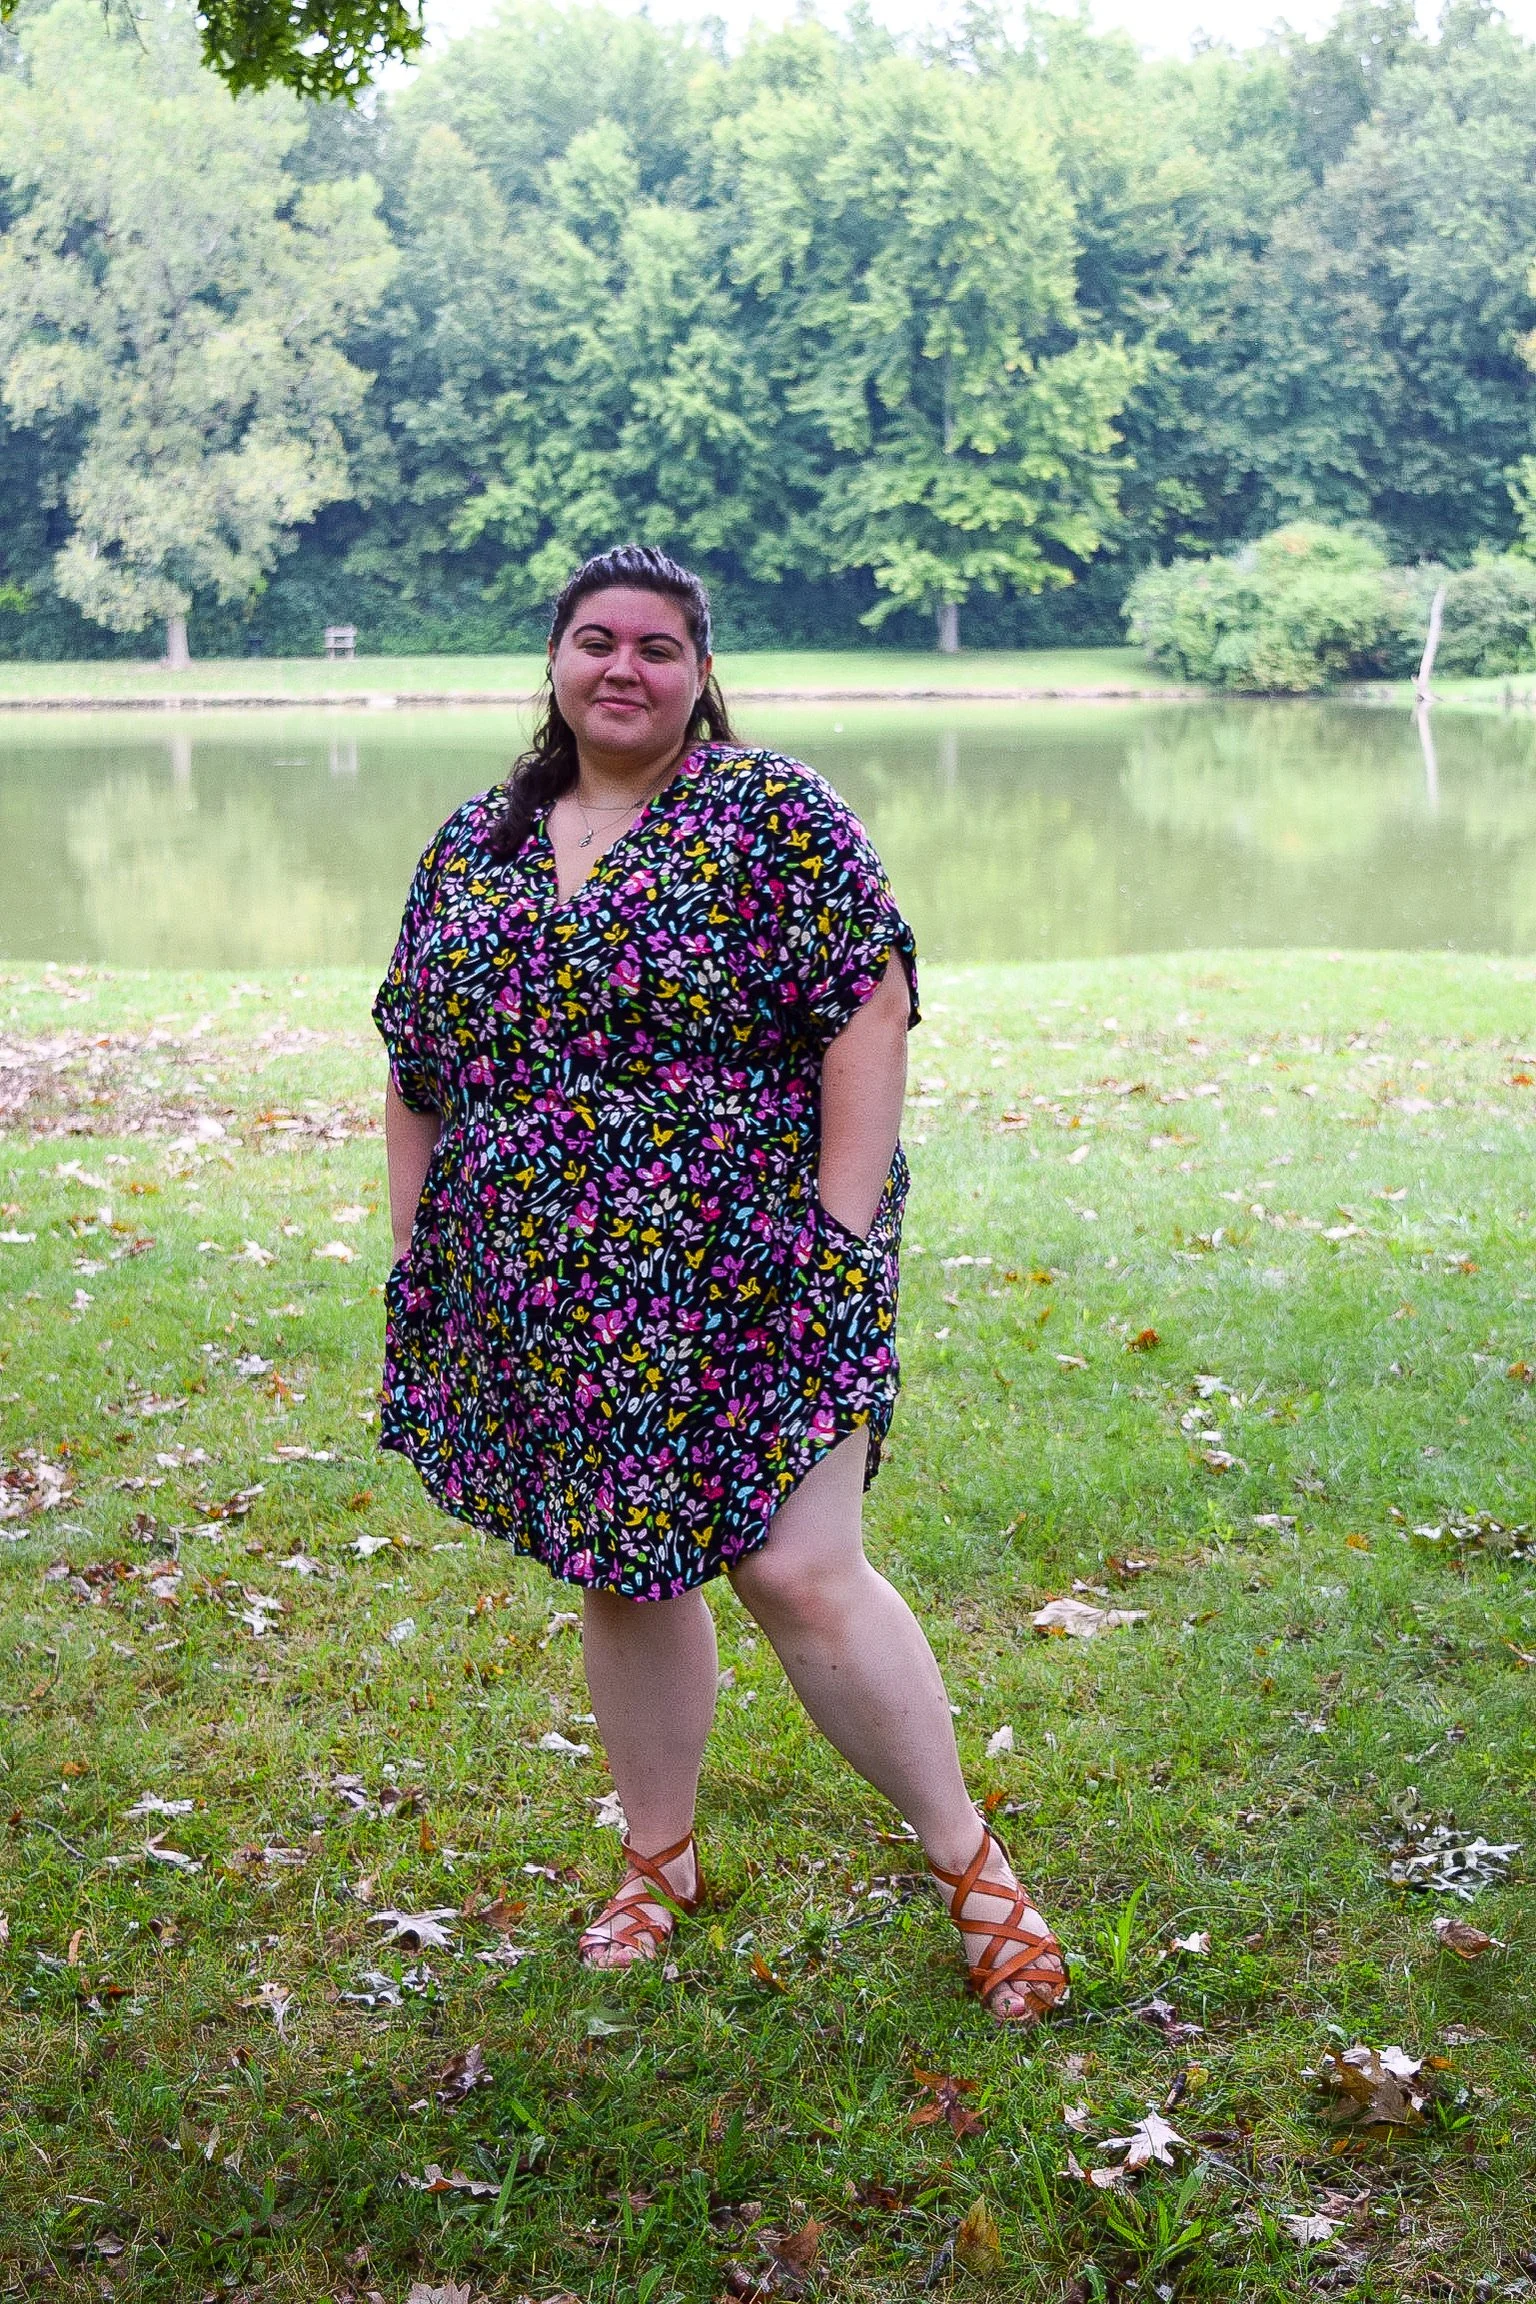
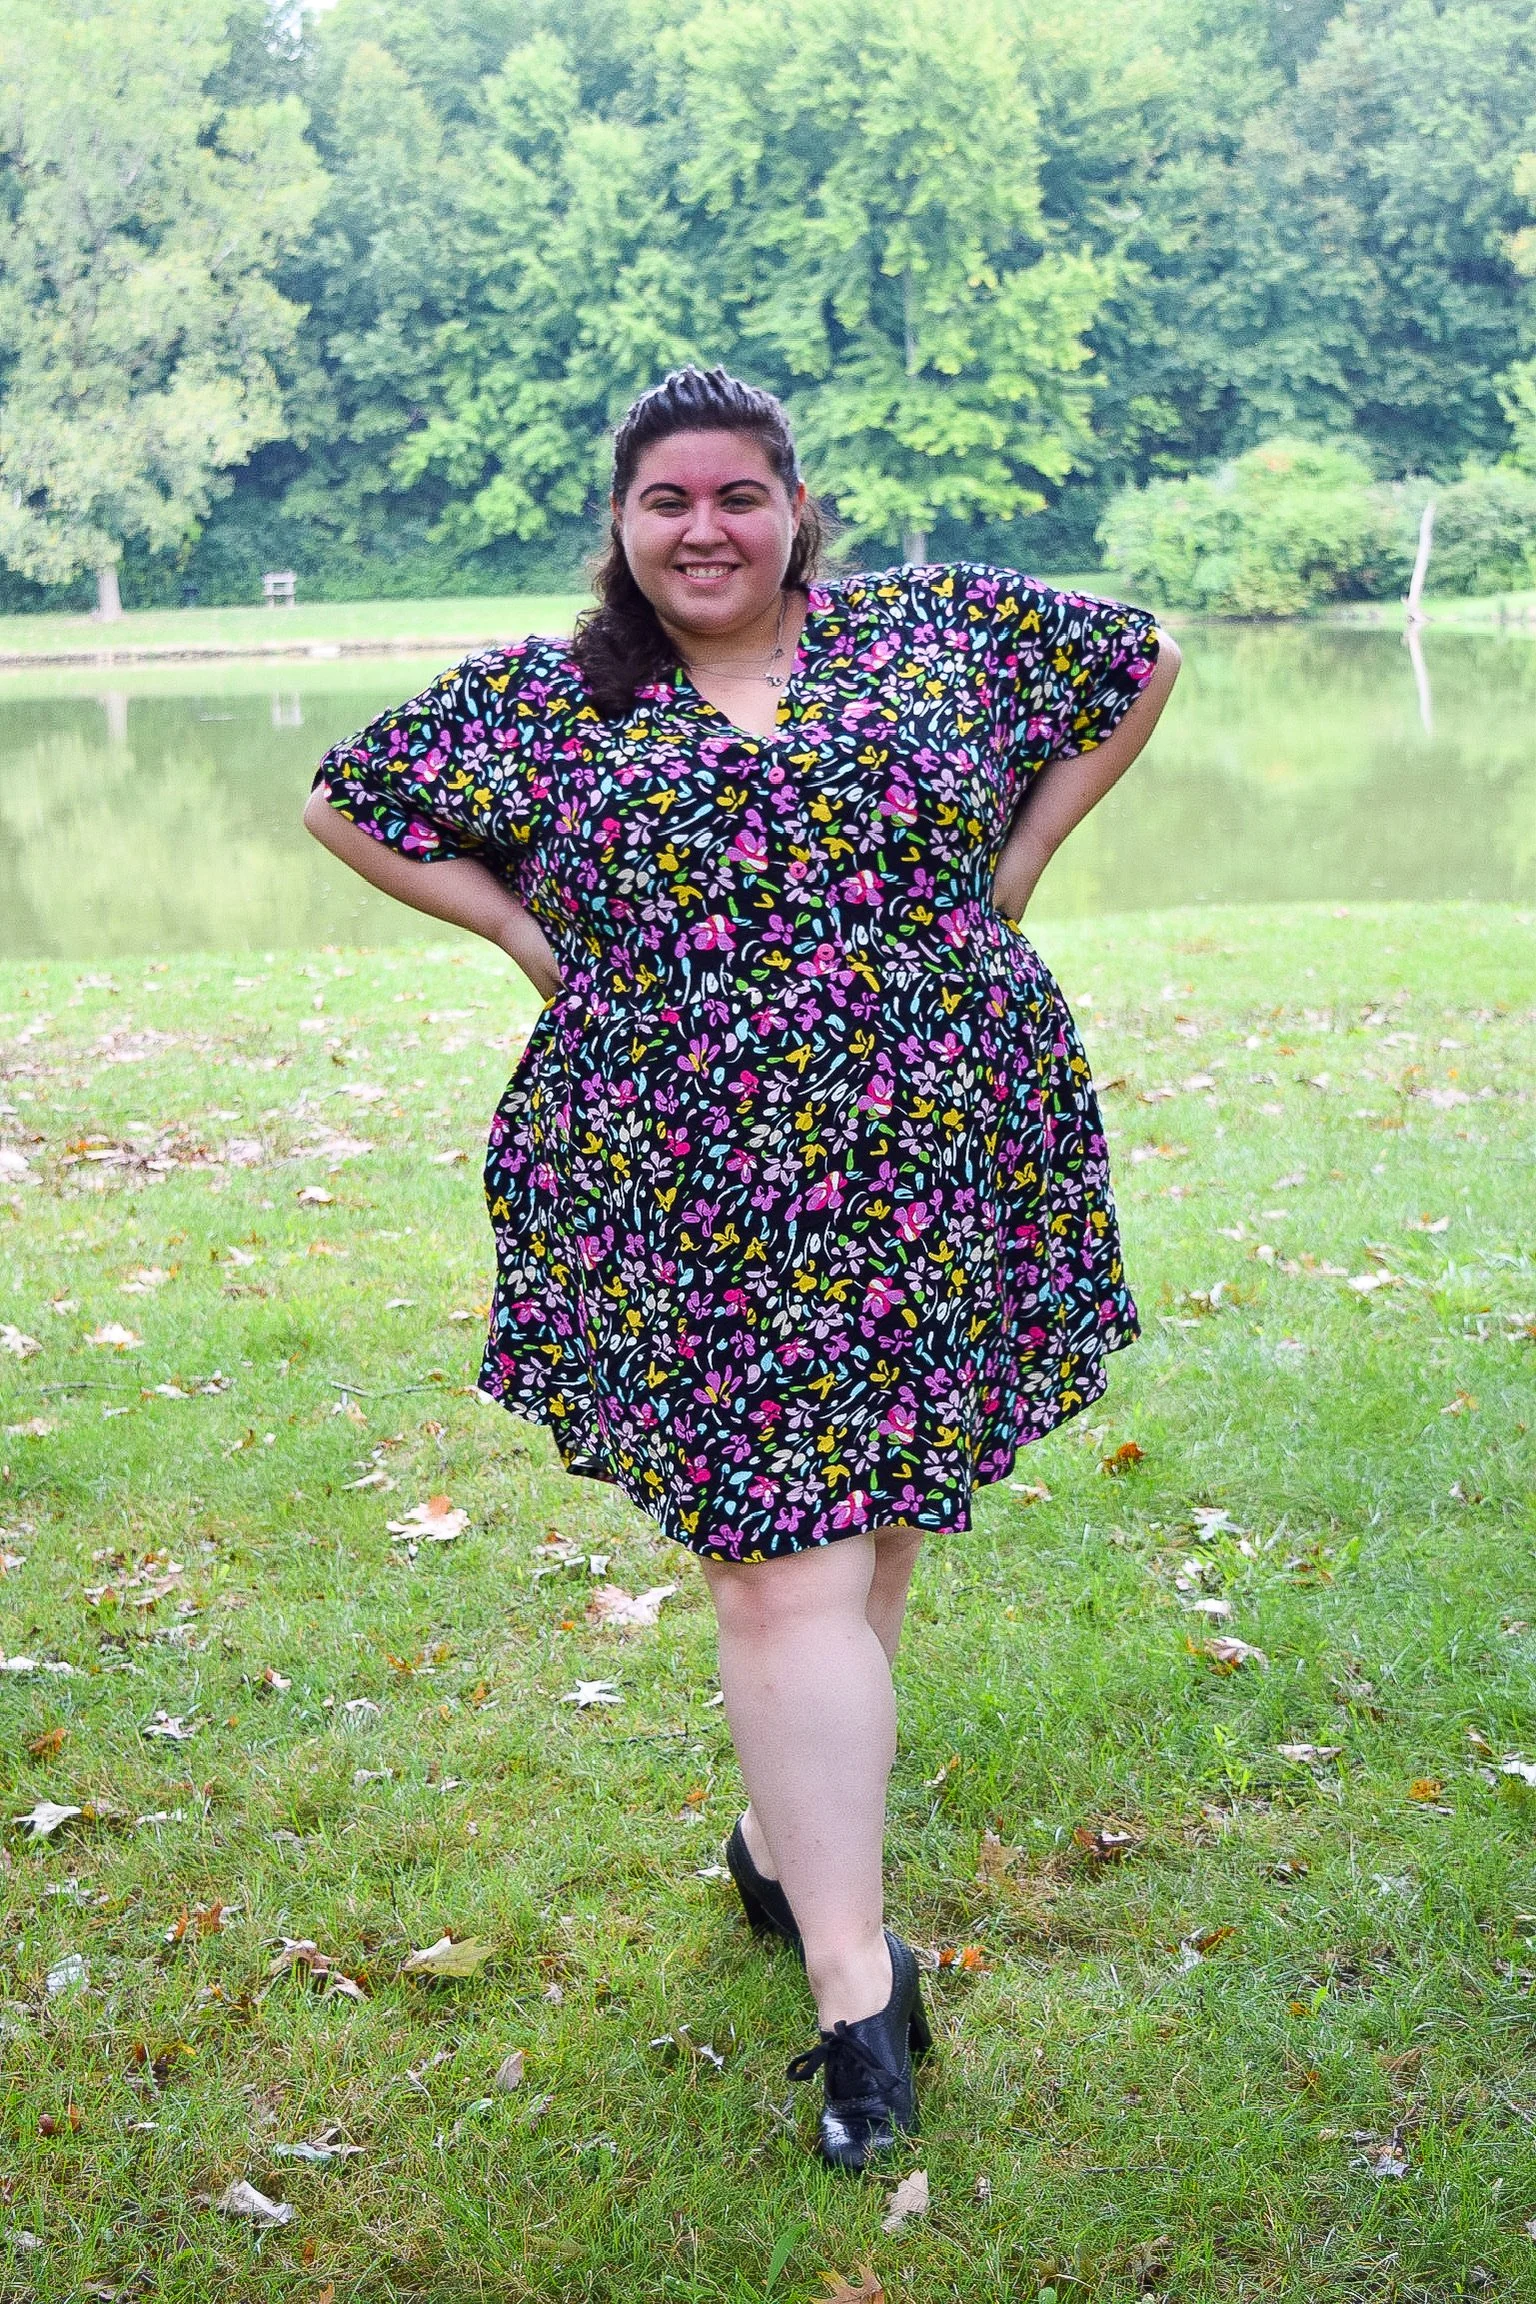
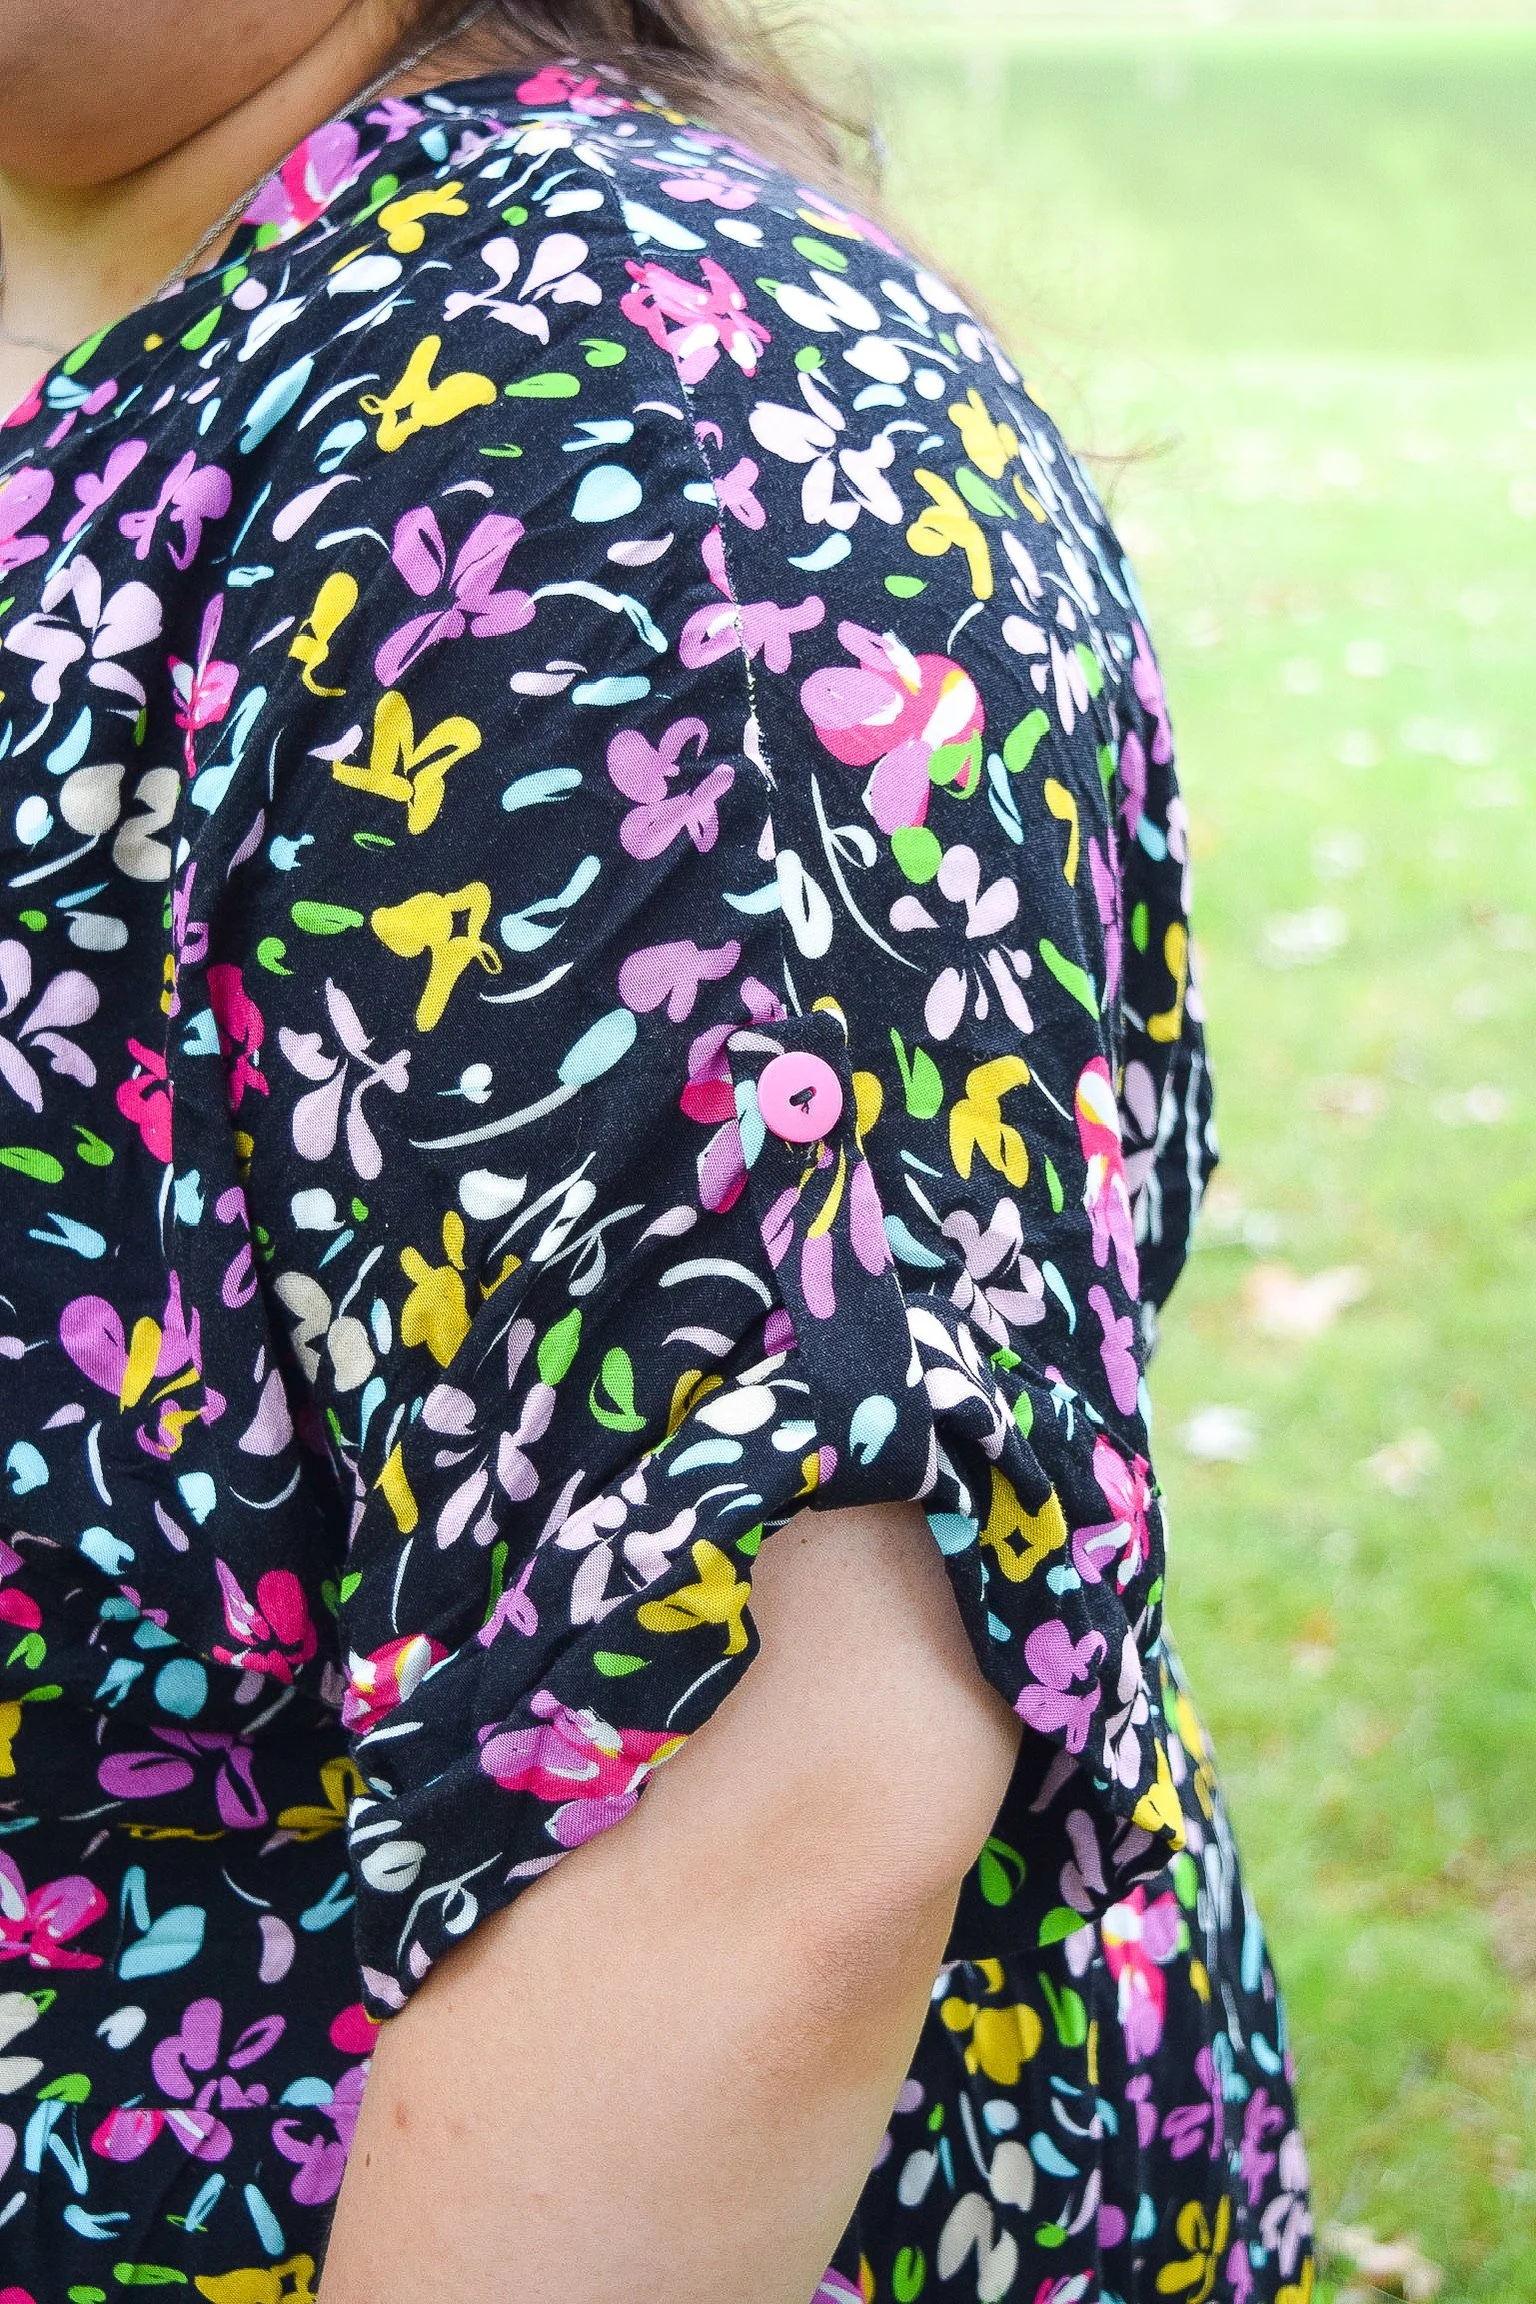
For me, Chalk & Notch is an interesting pattern company to play with. When looking at the size chart, I technically don’t fit in the size range, especially with my 60” hips. However, I can typically fit into their garments as their finished garments tend to have a decent amount of ease that encompasses my measurements. For this dress, I stuck with a 28 in View A (what I typically wear in C&N) as the bust, hip, and waist measurements for a C/D were large enough to comfortably fit. Also a heads-up: With the fabric I used, I opted to sew the dress using French seams to keep raveling at a minimum (with the exception of the sleeve cuffs since the seams are encompassed in the cuffs already).
I didn’t have any trouble spots when it came to sewing up this dress - the instructions with C&N patterns are always clear! My minor speed bumps came more in specific-to-me fit adjustments.
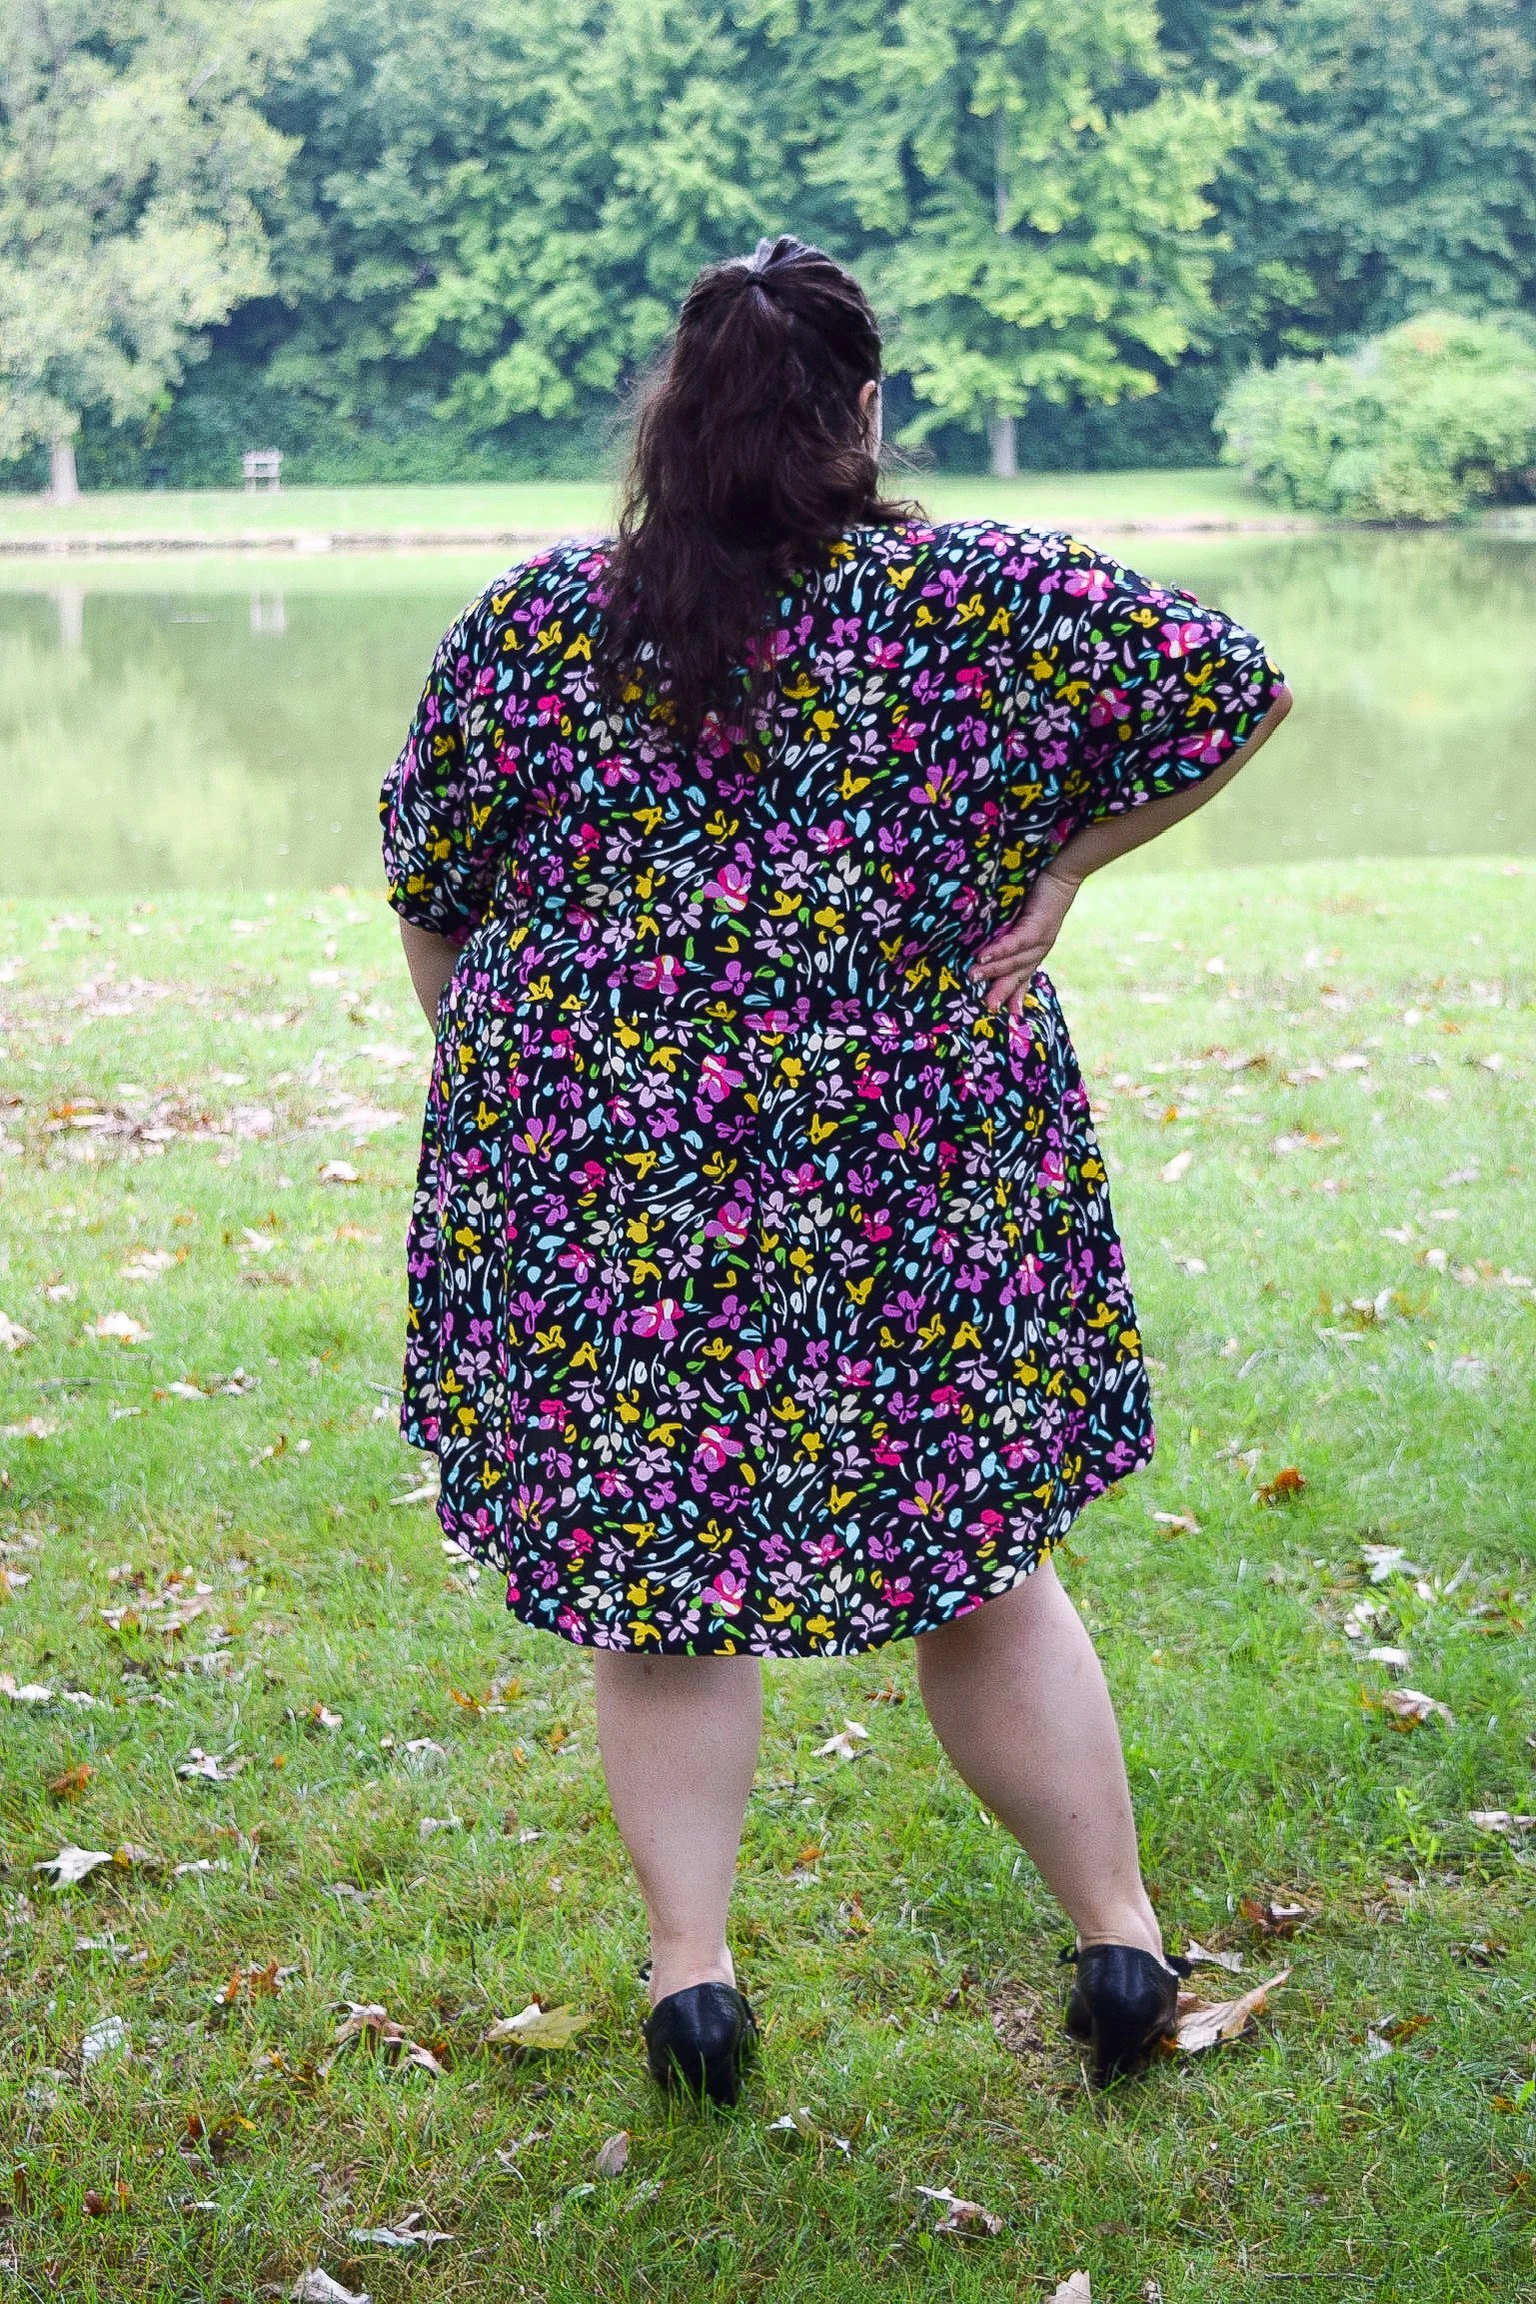
I sewed up the dress start to finish, leaving the hemming for the end since I’m shorter and definitely need to always take off more length with anything I make. However, I typically don’t need to shorten patterns with torso length so I left that as-is.
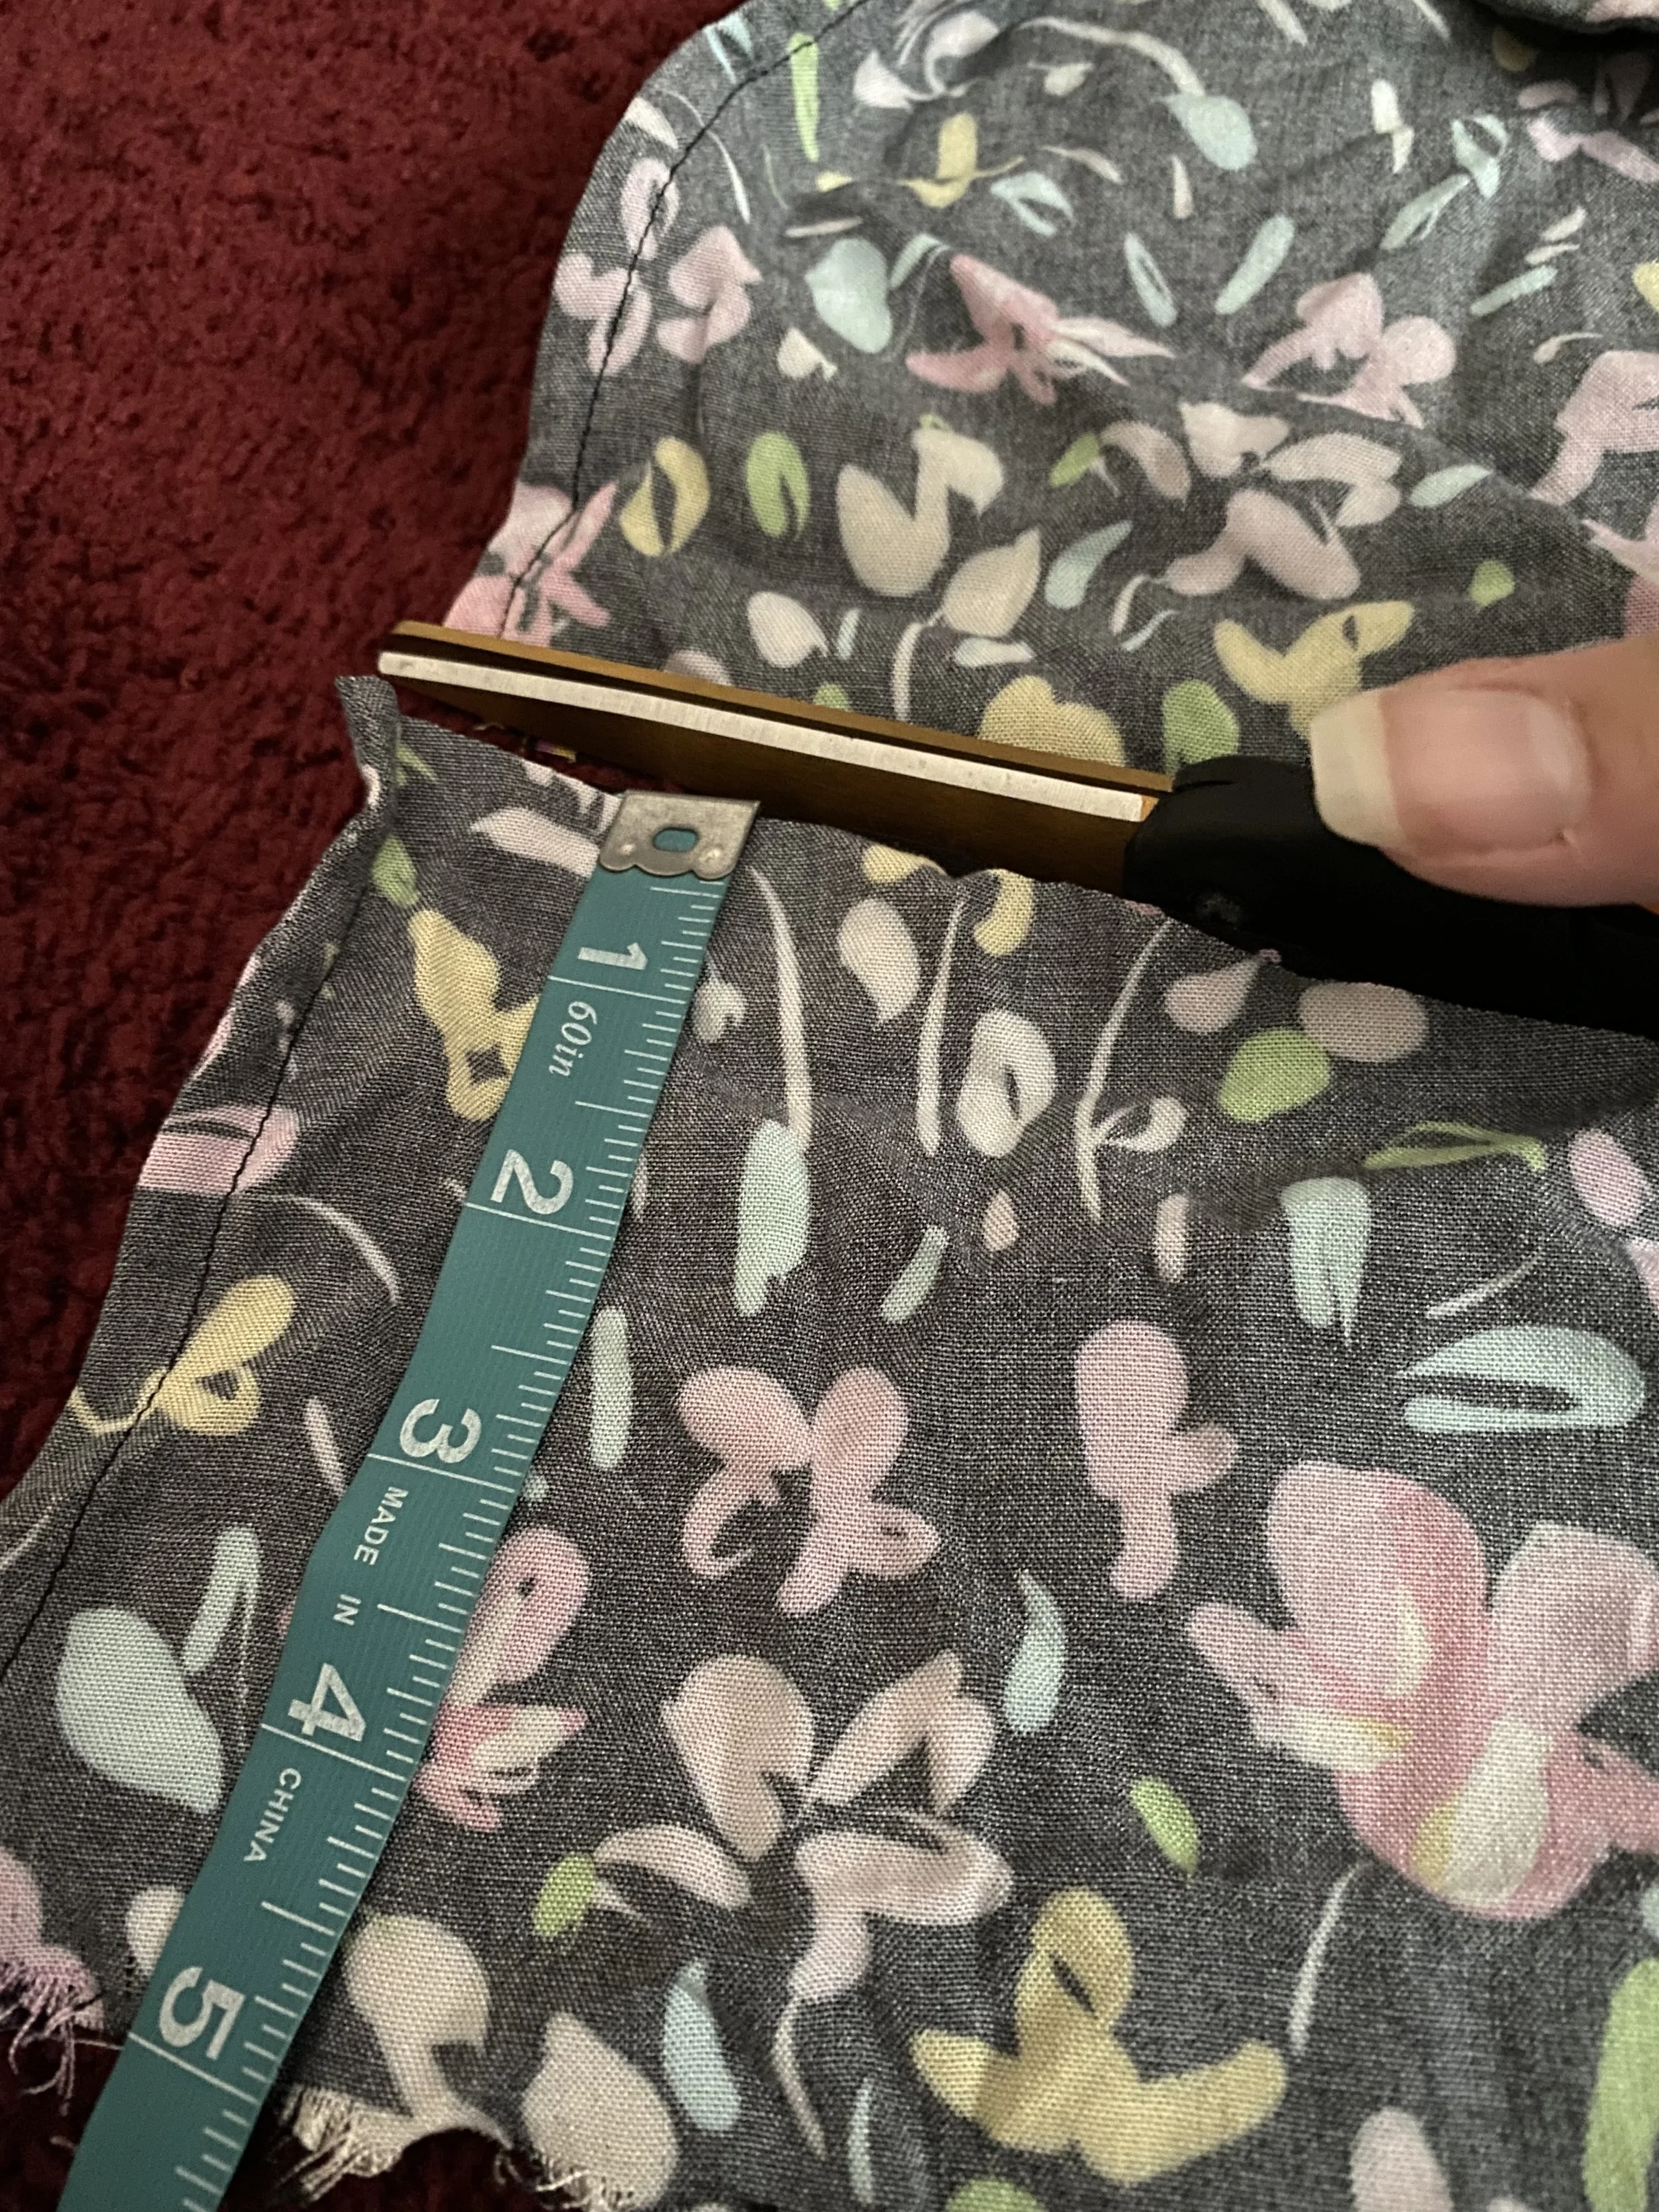
I removed a total of 5” from the length of the skirt and shortened it a bit more from the hemming instructions, folding up 1/4” and then again another 1/2”. Once I finished the dress and threw it on, I wasn’t a fan of how large it was around the bust so I went in and simply took it in another total of 3/4” on either side in the middle to remove a total of 1.5” to achieve the more form-fitting silhouette I prefer.
When it came to gathering the skirt, I found it a touch difficult with the fabric as I was seeing some runs with the print colors and had to redo the gathering lines 3 times before opting for the yarn method to try and prevent the fabric from fraying any more and altering the print! However, that was honestly a fabric-issue, not sewing and pattern-wise.
I love the way this dress fits though next time I would definitely shorten the bodice a bit to lay where I prefer (probably about an inch or two) that I would then add that final length to the skirt. And, of course, alter the pattern itself so I don’t have as much excess in the bust.
I’m rarely this excited to put on one of my garments but I threw it on to try it and show it off but, while I normally take them off until I’m ready to take my content photos and videos, I was so comfortable that I didn’t take it off. I’m excited to start styling it with all of the ideas popping up in my head!